
In the past year, I’ve fallen into the habit of putting my phone against a window, and using the iOS Camera app’s Timelapse function. I enjoy creating timelapses because it gives me a ton of satisfaction watching clouds move across the sky, the sun setting and rising, and lights in buildings turning on or off.
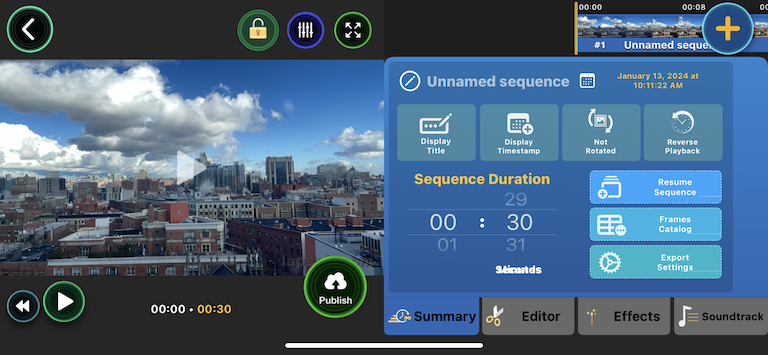
However, I recently learned of a limitation with the Timelapse function in the Camera app: regardless of how long you shoot, the playback duration will always be between 20 and 40 seconds. Meaning that playback will get faster and faster as you shoot longer and longer videos. Also, the final video is fixed at a 1920x1080 (1080p) resolution, which is odd for a phone that shoots 4K video.
As someone who wants absolute control over how I create, the Camera app and its Timelapse function was already not ideal: I couldn’t control capture intervals (time between photos), I couldn’t control focus or exposure mid-shoot, I couldn’t change playback speed (frames per second) of the final video, and the resolution is fixed at a 1920x1080 (1080p), which is odd for a phone that shoots 4K video. I usually reached for the Camera app because it was there and it was convenient, a low-friction way of creating!
This lead me to ask the question: what is the best way to shoot timelapses using iOS?
What this post is:
- A deep dive into various iOS apps that provide timelapse functionality; the pros, the cons, and which one I chose for my personal preferences
- A light review of some hardware that made it possible to use my iPhone 12 Pro as a dedicated timelapse camera
- A continually updated resource based on any modifications I make to my timelapse setup (whether iOS apps or hardware)
What this post is not:
- A look at other cameras on the market that provide timelapse functionality (that post is coming later)
- A deep dive into Android apps that provide timelapse functionality; I don’t have a device to use and compare, at least not right now!
The Testing Setup
In order to properly test this, I wanted to shoot timelapses in a consistent way, with a semi-consistent set of conditions (time of day, subject, visibility) and needed a way to stabilize my device against a window without any interference from lights or reflections in that window.
For the device, I am using a retired iPhone 12 Pro, and all test footage and screenshots will be coming from that device.
Some products I looked into to help out:
- A whole host of “window-attachable phone mounts”; most of these did not work because it seems like they were meant to be attached to car windshields for drivers to use their phones, and not attached to a window to have a phone pressed up against the same window (still ordering and a few out!)
- A “lens hood” that is attachable to a phone; capturing up against a window leads to a lot of reflections from lights, especially if you live a life in the room that capture is happening from
- An external battery; if you’re shooting in a location that doesn’t have an easily accessible outlet, it’s important to have a strong power source for your device
I tried a whole bunch, but here’s a photo of what I ended up with:

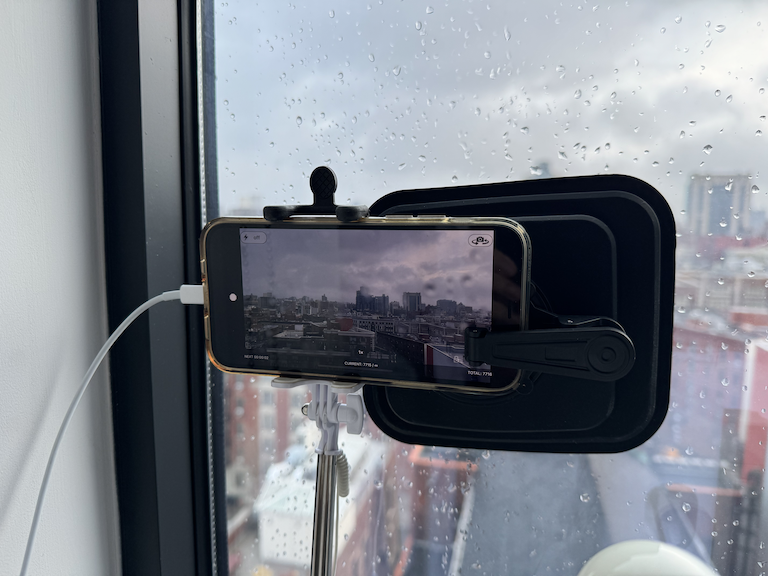
Beautiful, ain’t it?
I ended up with a very flexible, silicone lens hood that clips onto the phone, an old selfie stick that I taped to the floor for stabilization, and using a long cord to plug the phone directly into the wall.
As for actual production of timelapses, I landed on the following products:
- PROfezzion Anti-Reflection Cell Phone Lens Hood Shade
- Mregb Power-Bank-Solar-Charger - 42800mAh Portable Charger
- Anker USB C GaN Charger 30W, Anker 511 Charger (Nano 3)
- Anker USB C to USB C Cable, New Nylon USB C Charger Cable
(NOTE: the above list can change at any time, and I will update to reflect my current setup whenever it changes!)
For each iOS app mentioned below, my approach to testing was similar:
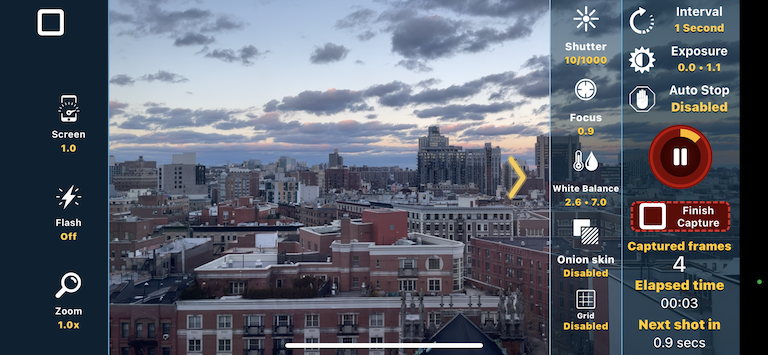
- Check the Level of Configurability - at minimum, I wanted to be able to set intervals of capture and have a fixed focus point for the duration of the shoot
- Check for Any “Gotchas” or Limitations - anything that remotely resembles the Camera app’s “fixed playback duration”, or limitations on playback or rendering or exporting
- Price - apps aren’t free, and for anything with a decent level of configuration and capability, what is made available for free vs premium versions
- Export / Output Capabilities - I want to have the flexibility to output at least at the level of a photo or video capture from an iPhone 12 Pro, which should be 4K @ 30fps or 60fps, and that was the standard I was setting when comparing export capabilities.
The Apps Reviewed
For all apps tested, the testing parameters were:
- 5 second capture intervals (if configurable)
- Fixed focus point
- 30-60 fps (if configurable)
- 30 seconds of footage (900 frames captured @ 30fps, or 1800 frames captured @ 60fps)
All in all, about 75-150 minutes per test shoot with each app, and 30-60 minutes of fiddling around with the app to understand configurability and capabilities.
List of apps:
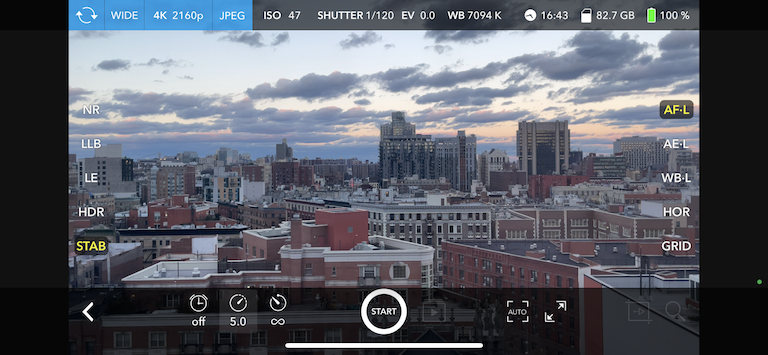
OSnap!
OSnap! App Store Link
OSnap! Website
Last app update: Dec 22, 2023
| Feature | Free | Paid |
|---|---|---|
| Capture Interval | 0.25 seconds to 48 hours | 0.25 seconds to 48 hours |
| Focus Setting | ✅ | ✅ |
| Focus Locking | ✅ | ✅ |
| Exposure Setting | ✅ | ✅ |
| Exposure Locking | ✅ | ✅ |
| White Balance Setting | ✅ | ✅ |
| White Balance Locking | ✅ | ✅ |
| Capture Resolution (Max) | 1280x720 (720p) | 3840x2160 (4K) |
| Export Resolution (Max) | 1280x720 (720p) | 3840x2160 (4K) |
| Export FPS (Max) | 200fps | 200fps |
| App Name Watermark Optional? | ❌ | ✅ |
Overall thoughts:
- The UI/UX is decent, but find it weird to change settings in a menu without any real visual cues
- About as configurable you can get (with the free version)
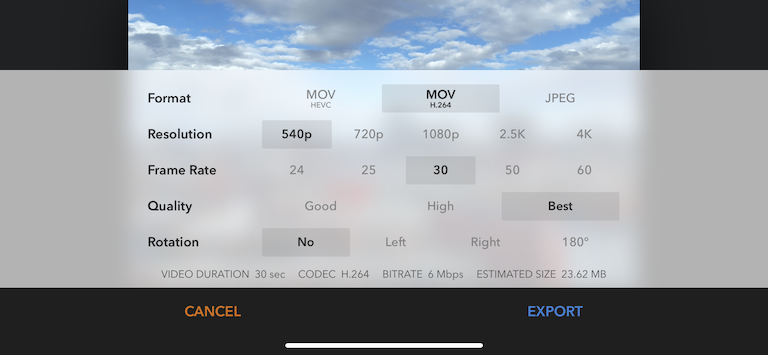
- Exporting seems weird at first, but quite configurable once you figure out the render settings screen
- Still receiving updates in 2023, which is a big bonus
Test footage:
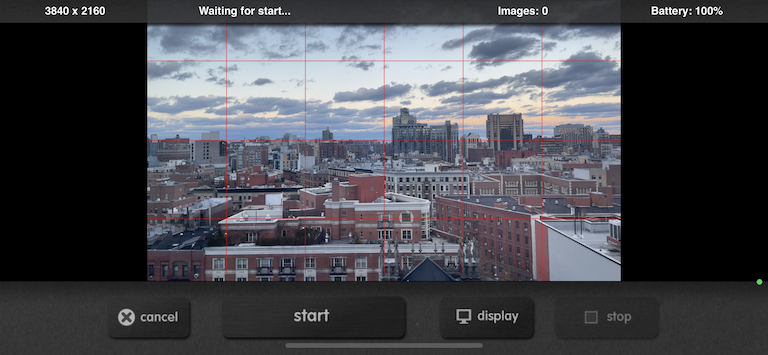
Lapse It
Lapse It App Store Link
Lapse It Website
Last app update: Oct 24, 2019
| Feature | Free | Paid |
|---|---|---|
| Capture Interval | 0.10 seconds to 100 hours | 0.10 seconds to 100 hours |
| Focus Setting | ✅ | ✅ |
| Focus Locking | ✅ | ✅ |
| Exposure Setting | ✅ | ✅ |
| Exposure Locking | ✅ | ✅ |
| White Balance Setting | ✅ | ✅ |
| White Balance Locking | ✅ | ✅ |
| Capture Resolution (Max) | 1280x720 (720p) | 3840x2160 (4K) |
| Export Resolution (Max) | 1280x720 (720p) | 3840x2160 (4K) |
| Export FPS (Max) | 30fps | Customizable (Any FPS) |
| App Name Watermark Optional? | ❌ | ✅ |
Overall thoughts:
- All adjustments are made in the capture screen, which is handy and visual, but the layout of the capture screen itself feels dated and messy
- Shutter speed, focus, and white balance can be manual, measured, fixed, or continuous; adjustments can be made mid-shoot
- Exporting is fairly straightforward, but the menus get in the way occasionally
- Last software update in 2019, but it hasn’t really had social activity since 2015; possibly abandoned
Test footage:
Skyflow
Skyflow App Store Link
Skyflow Facebook Page
Last app update: Sep 27, 2019
| Feature | Free | Paid |
|---|---|---|
| Capture Interval | 0.20 seconds to 5 minutes | 0.20 seconds to 5 minutes |
| Focus Setting | ✅ | ✅ |
| Focus Locking | ✅ | ✅ |
| Exposure Setting | ✅ | ✅ |
| Exposure Locking | ✅ | ✅ |
| White Balance Setting | ✅ | ✅ |
| White Balance Locking | ✅ | ✅ |
| Capture Resolution (Max) | 3840x2160 (4K) | 3840x2160 (4K) |
| Export Resolution (Max) | 960x540 (540pp) | 3840x2160 (4K) |
| Export FPS (Max) | 60fps | 60fps |
| App Name Watermark Optional? | ❌ | ✅ |
Overall thoughts:
- All capture settings are configurable on the capture screen
- Capture interval can actually go beyond 5 minutes, but the slider maxes out at 5 minutes, and you can repeatedly press the -/+ button to increment 5s beyond the slider limit; feels like bad UI
- You can technically punch in any capture interval with a keypad, but only whole numbers and you can only set it in seconds, with a max of
99999(before it cycles back to single digits) 27h 46mif you were curious what99999seconds translates into
- You can technically punch in any capture interval with a keypad, but only whole numbers and you can only set it in seconds, with a max of
- Has useful additions like: Noise Reduction, Low Light Balance, Long Exposure, HDR, and Horizon Stabilizer
- While I didn’t use any of them, it seems nice to have the option
- Occasionally get ads in between actions, which is a big yuck for the free version
- Last software update in 2019, similar to its last social update; possibly abandoned
Test footage:
iMotion
iMotion App Store Link
iMotion Website
Last app update: Feb 13, 2023
| Feature | Free | Paid |
|---|---|---|
| Capture Interval | 0.1 seconds to 24 hours | 0.1 seconds to 24 hours |
| Focus Setting | ❌ | ✅ |
| Focus Locking | ❌ | ✅ |
| Exposure Setting | ❌ | ✅ |
| Exposure Locking | ❌ | ✅ |
| White Balance Setting | ❌ | ✅ |
| White Balance Locking | ❌ | ✅ |
| Capture Resolution (Max) | 3840x2160 (4K) | 3840x2160 (4K) |
| Export Resolution (Max) | 3840x2160 (4K) | 3840x2160 (4K) |
| Export FPS (Max) | 30fps | 30fps |
| App Name Watermark Optional? | ✅ | ✅ |
Overall thoughts:
- All configuration or capabilities related to creating a timelapse (focus, exposure, white balance, etc) seem to be locked behind an upgrade
- Fairly dated looking UI; using a slider for intervals (with no ability to be granular other than with sliding), radio buttons for option selections, and iconography that isn’t completely obvious when in capture screen
- That said, one of the easier to use and configure timelapse apps, in my opinion
- If all I wanted was to shoot and export to 3840x2160 (4K) at 30fps, without any complicated configuration requirements, the free version of iMotion would more than meet my needs
- Couldn’t test mid-shoot adjustments, because all possible adjustments/configurations were locked behind paywall
- With a much longer shoot, exporting seemed to go through the motions of creating a video but nothing ever appeared in the Photo Library (big problem)
- End video was (supposed to be) just shy of 4 minutes @ 30fps, 3840x2160 resolution
- Wouldn’t want to see this happening after spending ~9 hours shooting 6500 photos (like I did…)
Test footage:
Not Reviewed
The below iOS apps came up through recommendations or through search results when looking for options and alternatives, but for one reason or another, I chose not to review them. Those apps, and the reasons they were not reviewed, are noted below.
- Life Lapse: automated captures at intervals is locked behind a pro paywall
- Hyperlapse: no longer available (and also has a hard limit of 45 minutes for capture!)
Conclusion
Given my personal preferences in wanting a timelapse creation app that is:
- Highly configurable with respect to focus, exposure, white balance, capture and export resolution, and export frames per second
- Has a visually usable capture screen, allowing me to quickly and easily find configuration settings and adjust them on the fly
- Straightforward export process, with quick changes to resolution and FPS, and saving to Photos
I narrowed down my current choices to two: OSnap! and iMotion.
I would choose: OSnap!
Because OSnap! seems to cover all of the above, with a fairly reasonable fee for unlocking premium features (like higher resolution capture and exports), and seems to have been updated most recently of all, providing reassurance that it will continue to have bugs fixed and (hopefully) features improved.
Thanks for taking the time to read. 🙏🏻
But wait, one more thing…
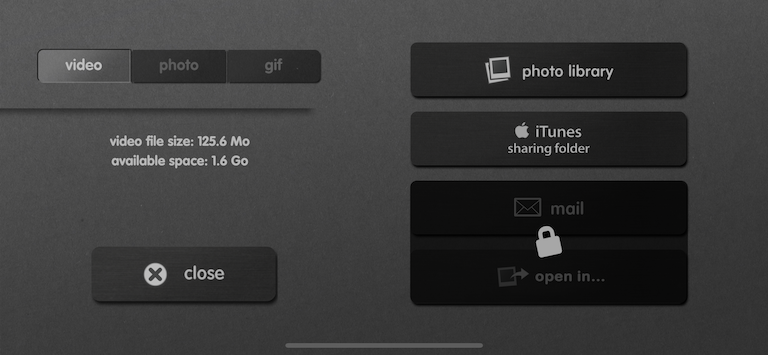
While finishing up this post, I also ran extended tests with both OSnap! and iMotion, and it made something clear: longer timelapses, especially at higher resolution capture and exports, will require more storage. Even with the 256 GB of on-device storage with my iPhone 12 Pro, and roughly ~75 GB of free space, I had several issues exporting my finished project. iMotion would “successfully” export, but no video would actually appear in my Photos. OSnap! ran into a few “disk full” errors while in the middle of exporting.
I would still like to give creating timelapses using a phone a solid go, and to create some timelapses in the field, but it seems like a phone-only approach to capturing, editing, and exporting video may still not be in the cards as of 2024.
In the mean time…